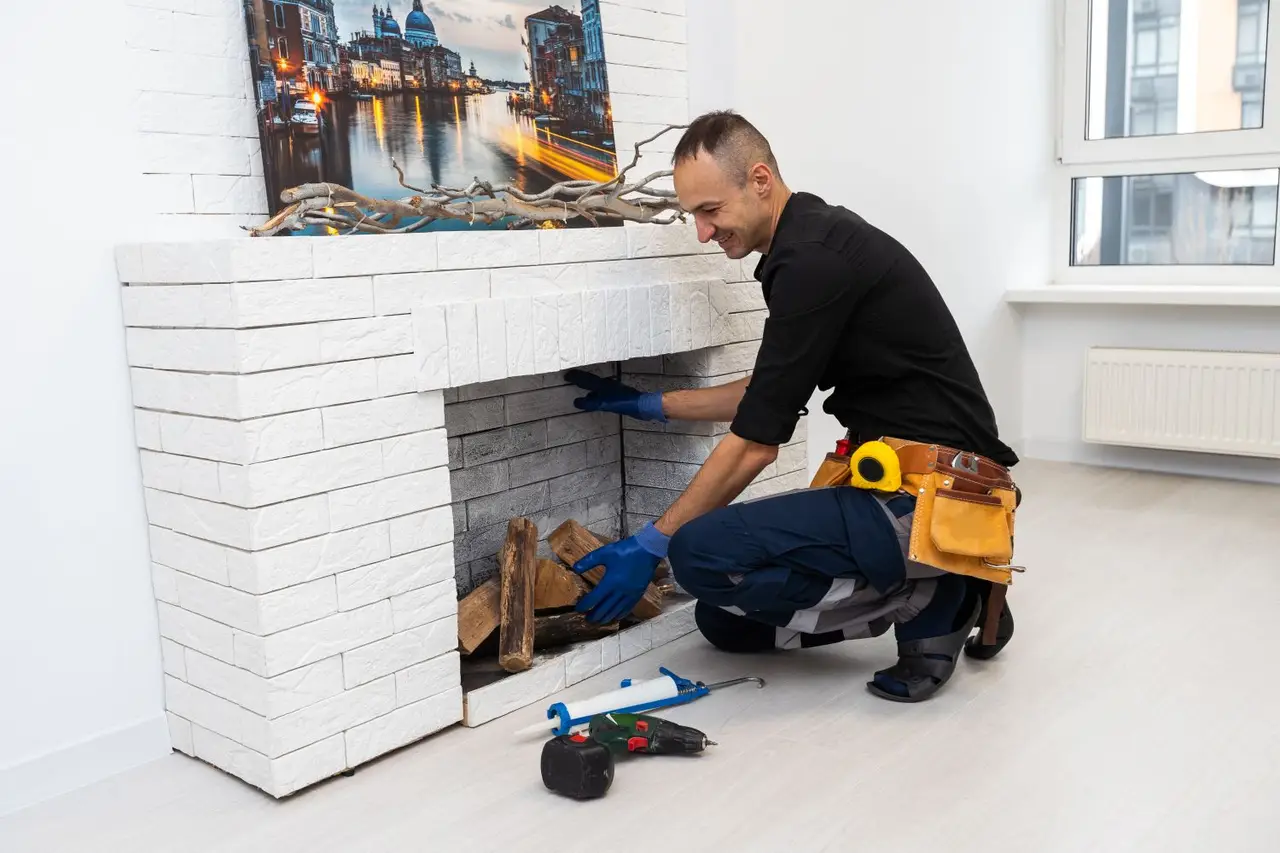
Yes, you can reface around a gas insert, but you must keep the right clearances, keep service access open, and protect the venting path. Think of the insert like a truck in a garage. It needs room on all sides, and the door must still open when repairs are needed. If you cover key parts with stone, tile, or wood, the job can turn into a headache fast.

Start with the insert manual, not the tile sample
This is the big rule. Every gas insert has its own clearance and facing rules. The manual tells you how close stone, tile, cement board, wood trim, mantels, and TVs can be. It also shows where louvers, grills, and access spots must stay open.
If you skip the manual, you are building with a blindfold on.
Some inserts allow non-combustible facing close to the unit. Others need space around the opening. Wood trim and shiplap usually need more room than tile or stone. Mantels often need the most space of all.
A gas insert also needs service access. A tech may need to reach the gas shutoff, wiring, blower, control module, or pilot area. If the new face traps those parts behind hard-set stone, the next repair visit gets messy. For help with planning service access, visit Contact Us.
What “refacing” really changes
Refacing sounds simple. New tile, new stone, maybe a mantel, done. But around a gas insert, the face is not just pretty stuff. It affects heat movement, service access, and venting safety.
A fireplace update may change:
- The thickness of the wall around the insert
- The size of the opening around the unit
- The mantel height and depth
- The trim material, wood or non-combustible
- Access to controls and shutoff parts
- Airflow around the insert front
- The path where the vent liner connects and runs
That is why a refacing job is part finish work, part safety work. If you want to talk through the scope of your project, use Contact Us.
Clearances are not “close enough” guesses
Clearance means the space needed between hot parts and nearby materials. This rule keeps heat from drying, warping, scorching, or damaging the wall around the insert.
There are two basic material groups.
Non-combustible facing
This group often includes tile, brick, stone, mortar, and cement board. These are common picks for a reface around a gas insert. They handle heat better than wood products, but they still must follow the insert manual. Some units need a small gap. Some allow tighter facing around the opening.
Do not assume stone means zero rules. Heat still moves.
Combustible facing
This group often includes wood trim, MDF, shiplap, drywall paper face, wallpaper, and many mantel parts. These materials need more distance from the insert opening and hot air outlets.
A chunky wood mantel may look sharp, but if it sits too low, it can be a problem. The same goes for side trim.
Access panels matter more than most people think
Here is where many remodels trip over their own boots.
Your gas insert may need access to:
- Gas shutoff valve
- Electrical outlet or junction area
- Blower
- Battery backup
- Control module
- Pilot assembly
- Vent connection area, in some layouts
Some inserts have a lower grill or panel that opens for service. Others need the unit pulled out for major work, which still means the front surround cannot lock it in like concrete boots.
If your new stone face covers a service panel, you may have to break finished material just to fix a switch or blower later. Nobody wants to hear, “We need to remove your new tile to do a small repair.” That is the kind of joke that is only funny after three cups of coffee and not to the homeowner. If you need help before finishing the surround, visit Contact Us.
Venting must stay correct from firebox to top
Gas inserts use listed vent systems, often liners that run up the old chimney. The vent setup must match the insert requirements. A reface job should never pinch, block, or stress the vent path.
Watch for these venting issues:
- The insert gets pushed too far forward or too far back
- New framing crowds the vent area
- Seal plates or collars get disturbed
- Access to inspect vent connections gets lost
- Decorative work blocks required cooling or air spaces
If the unit is direct vent, both intake and exhaust paths matter. If it is a vented gas insert with liners in a masonry chimney, the liner setup must stay intact and sized right for the unit.
A pretty face with bad venting is like putting shiny rims on a truck with no brakes.
For general venting and fireplace safety information, see NFPA and Wikipedia.
Materials that usually work best
If you want fewer clearance problems, non-combustible materials are often the safer pick around the opening.
Common choices include:
| Material | Near opening use | Notes |
|---|---|---|
| Tile | Often yes | Good heat handling, check backing too |
| Natural stone | Often yes | Heavy, may need proper support |
| Brick veneer | Often yes | Needs correct mortar and backing |
| Cement board | Yes, as a base | Not a finish by itself for most homes |
| Wood trim | Limited | Needs proper spacing from heat |
| MDF | Poor choice near heat | Can swell and warp |
| Shiplap | Limited | Looks nice, needs careful spacing |
The finish is only part of the job. The backing, adhesive, framing, and trim all matter too. If you want guidance on material choices, use Contact Us.
What we usually see in Houston, TX
In Houston, TX, many homes have older masonry fireplaces with a gas insert added later. We also see newer living rooms in places near Katy and Memorial with big TV walls and tight mantel plans. The common trouble spots are wood trim placed too close, tile added over weak backing, and blocked lower access panels.
Humidity can also be rough on poor material picks. MDF and cheap trim can swell. Thin-set and grout need the right prep so they do not crack when the house shifts a bit through heat and moisture swings.
Houston weather changes the game a little
Fireplaces in Houston do not run all winter long like they might up north, but that does not mean they get a free pass.
Heat and humidity can affect:
- Adhesives and grout cure
- Wood trim movement
- Rust on neglected metal parts
- Dust buildup in blowers and control areas
Heavy rain matters too. If the chimney crown, cap, or flashing leaks, water can work its way into the firebox area or wall. Then a new reface may hide a moisture problem instead of fixing it.
Cold snaps also show up in Houston from time to time. When people fire up the insert after months of sitting, hidden vent or service issues can pop up fast.
A smart order for the work
Refacing around a gas insert goes better when the steps happen in the right order.
1. Identify the insert make and model
Get the manual. No manual, no guessing game. The model tag is often behind the lower panel or inside the unit area.
2. Check condition before finish work
Make sure the insert works right now. Test ignition, blower, burner flame, and controls. If the unit already has a problem, fix that first.
3. Inspect venting and chimney parts
Look at the liner, cap, top plate, and any visible vent connection points. A face update should not hide an old vent issue.
4. Plan clearances on paper
Mark the opening size, trim zones, mantel size, and TV location if there will be one.
5. Keep service access open
Know how the lower panel opens and what a tech may need later.
6. Build the finish with approved materials
Use proper backing and the right spacing. Let the materials cure as needed. To schedule help with the process, visit Contact Us.
Quick checks if you are planning this job
- If your manual says non-combustible facing only near the opening, then do not use wood there.
- If the lower grill or panel must open, then do not trap it behind stone or trim.
- If the mantel depth increases, then recheck mantel height rules.
- If the insert has blower noise, startup trouble, or odd flame now, then repair it before refacing.
- If the vent liner or cap has not been checked in years, then inspect that before finish work.
- If you want a TV above the fireplace, then confirm the insert and mantel rules first.
Common mix-ups, cleared up fast
Myth, all stone and tile can touch the insert opening.
Fact, many can go close, but the manual still sets the rule.
Myth, once the reface is done, service can happen from the front glass only.
Fact, many units need lower access panels or room to remove trim parts.
Myth, venting stays the same no matter what the front looks like.
Fact, changing depth and framing can affect access and vent connection setup.
Myth, if the fireplace rarely runs, clearance rules do not matter much.
Fact, short use can still create hot spots in the wrong places.
A simple care plan after the reface
A fresh fireplace face is not a “set it and forget it” deal.
Weekly during heavy use
- Look for odd smells when the unit starts
- Check that the flame looks normal
- Keep the front and lower openings free of dust
Monthly
- Wipe dust from grills and louvers
- Check grout or caulk for small cracks
- Make sure trim is not getting hot or discolored
Yearly
- Have the insert checked and cleaned
- Inspect venting and chimney top parts
- Confirm panels open as they should
- Check for water entry after storms
When a permit or inspection may come into play
Rules vary by area and by the kind of work being done. If the job changes gas lines, electrical parts, venting, framing, or major finish materials around the insert, permit or inspection steps may apply. This is another reason to map the job before the first tile goes up.
In neighborhoods with older homes near The Heights, we often see layers of past work hiding behind the current face. That can include old framing, loose masonry, or patched gas line paths. A clean plan beats a surprise every time.
Red flags that mean stop and check first
Do not start finish work yet if you notice any of these:
- Soot marks or odd stains around the insert
- Rust near the firebox or lower panel
- A loose surround or cracked hearth
- Delayed ignition or burner issues
- A musty smell after rain
- Missing manual and unknown model
These do not always mean a huge issue. They do mean the unit needs a look before the pretty work begins.
FAQs
Can I put tile right up to a gas insert?
Sometimes yes, but only if the insert manual allows that spacing and the backing is right. Tile is often a good pick near heat.
Can I use shiplap around a gas insert?
You may be able to use it farther from the opening, but not close to hot areas unless the manual says it is okay. Wood products need care here.
Do I need an access panel for a gas insert?
Many units already have one as part of the lower grill or trim area. You should not block it with new finish work.
Can I cover the old vents or louvers on the insert face?
No, not unless the unit is listed for a different trim setup. Those openings often help with airflow and service access.
Will a new stone face affect the venting?
It can if the work changes insert position, framing, or access to vent connections. The vent path must stay correct for the unit.
Is a gas insert safer than an open wood fireplace for remodeling around it?
A gas insert is often easier to plan around, but it still has strict rules. Safe work depends on the exact model and materials used.
Can I mount a TV above a gas insert after refacing?
Sometimes, yes. You need to check the insert manual, mantel size, wall temperature, and TV maker rules before doing it.
How often should a gas insert be inspected in Houston?
A yearly check is a smart plan, especially before cooler weather starts and after heavy rain seasons.
If you want help with a gas insert update, inspection, vent check, or fireplace repair, Same Day Chimney Sweep Service & Repair serves Houston, TX with work that helps keep your fireplace safe, easy to service, and ready for use. Call (346) 644-6624 or visit https://samedaychimneysweepserviceandrepair.com. You can also Contact Us.